Lessons Learned from Building Custom Hacker Hardware
summary
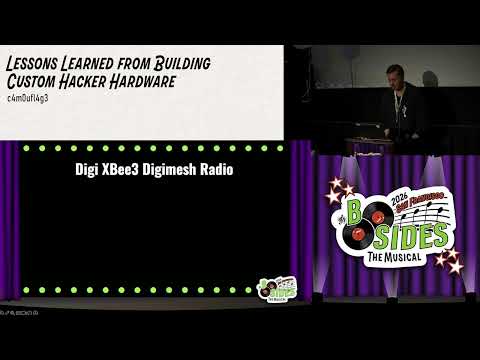
Build story of Injectal and Hide: starts with off‑the‑shelf parts—Trinket M0, Arduino Nano 33 IoT, SparkFun XB radio and a DigiMesh radio—total prototype cost under $100, then evolves to a custom SAMD21 PCB. Key claims and fixes: a half‑second lag forces adding a second Nano and moving BLE off the extender; UART quirk with a SparkFun board is resolved by swapping pins; radio mesh reaches about 1,000 nodes with ~100 ft practical range; SD logging replaces BLE for stealth; final PCB is produced, open sourced, and field tested.
AI-written summary · about
chapters (9)
- 0:00Introduction and background
- 3:30Project goals and motivation
- 7:02Proof of concept hardware
- 14:43First prototype challenges
- 20:41Hardware refinement steps
- 24:32Custom PCB design journey
- 36:10Chip shortage and workarounds
- 41:30Final PCB and lessons learned
- 43:57Q&A and project resources
related talks
 06mEthical Hacking for All Ages: Hardware Hacking with Script Kitty
 40mBiohacking: The Invisible Threat
 30mBuilding hacking tools in JavaScript
 21mHacking Hardware for Hugs and Profit!
 51mSmart home from scratch - a little C#, a little C++ and cheap Chinese electronics
 35mWireless Hacking With HackCUBE-Special
 45mConcerning Radio Hardware and Studebaker Repair
 25mChallenging Hardware Contests With Zephyr and Lessons Learned